In a move aimed at sharpening standards across the digital services landscape, regulators have continued to emphasize the importance of compliance for firms seeking a CASP (Cybersecurity Assessment and Assurance Provider) license. While the term “CASP” may be unfamiliar to some readers, the licensing framework behind it is designed to ensure that organizations offering cybersecurity-related assessment, assurance, and related services meet clear expectations around competence, governance, If you cherished this short article and you wish to acquire more details about MiCA market abuse surveillance software compliance crypto market abuse detection software EU (realtor.bizaek.com) i implore you to pay a visit to our own web-page. and accountability. For businesses planning to operate in this space—or existing providers looking to renew or expand their authorization—understanding CASP license requirements has become a critical step in avoiding delays, penalties, or reputational harm.
Industry observers say the licensing process is increasingly seen not merely as a bureaucratic hurdle, but as a signal of maturity. “A CASP license can function like a trust badge,” said one compliance consultant familiar with licensing workflows. “Clients want assurance that a provider has the capability, processes, and oversight to deliver services responsibly. Regulators want the same thing—just with enforceable standards.”
Why CASP Licensing Matters
Cybersecurity assurance and assessment services sit at the intersection of technical expertise and risk management. Organizations rely on these providers to evaluate security posture, validate controls, and identify vulnerabilities that could expose sensitive data or disrupt operations. Because the consequences of poor assessments can be severe—ranging from regulatory breaches to financial losses—licensing requirements are intended to reduce variability in quality and strengthen accountability.
Licensing frameworks typically require applicants to demonstrate that they can operate securely and ethically, maintain competent personnel, protect client information, and implement robust internal governance. In addition, many jurisdictions expect license holders to maintain ongoing compliance rather than treating authorization as a one-time event.
Core Eligibility Requirements
Although specific details vary by jurisdiction, CASP license requirements generally begin with baseline eligibility criteria. Applicants often must be legally registered entities, such as companies or authorized organizations, and must be able to provide evidence of their operational legitimacy. This may include corporate registration documents, proof of address, and information about ownership or control structures.
Regulators commonly require transparency about who is behind the organization. Beneficial ownership disclosures, director and officer details, and declarations regarding conflicts of interest are frequently part of the process. The goal is to ensure that licensees are not controlled by parties that pose integrity risks, such as those with unresolved compliance violations or reputational concerns.
Demonstrating Competence and Technical Capability
A central pillar of CASP licensing is the demonstration of technical competence. Applicants are typically expected to show that they have the skills required to deliver cybersecurity assessment and assurance services effectively. This may involve documenting methodologies, service scope, and the tools or frameworks used to conduct evaluations.
Many licensing regimes require evidence of qualified staff, including security professionals with relevant certifications or experience. Regulators may ask for details about roles such as assessment leads, technical reviewers, and quality assurance personnel. In some cases, applicants may need to show that they can cover multiple domains—such as vulnerability management, incident response readiness, cloud security, or secure configuration auditing—depending on the services they intend to offer.
Beyond individual credentials, regulators often look for evidence of structured processes. Applicants may need to describe how they plan assessments, manage evidence, perform testing, validate findings, and produce reports. A well-defined methodology can be as important as technical talent because it demonstrates repeatability and reliability.
Governance, Risk Management, and Accountability
CASP license requirements also tend to emphasize governance. Applicants are expected to establish internal policies that govern how services are delivered and how risks are managed. This can include risk assessment procedures, escalation mechanisms, and controls to prevent conflicts of interest.
Many regulators expect license holders to implement a compliance function or at least designate accountable leadership for regulatory adherence. The organization’s governance framework should clarify who is responsible for compliance decisions, how audits are conducted internally, and how corrective actions are implemented when issues arise.
Because cybersecurity services can involve sensitive data—such as system configurations, logs, and vulnerability details—information security governance is often a requirement rather than a suggestion. Applicants may need to show that they have policies covering data handling, encryption, access control, secure storage, and secure disposal of client materials.
Client Protection and Ethical Conduct
Licensing frameworks are designed to protect clients and the broader ecosystem. As a result, CASP applicants may be required to demonstrate ethical conduct and client protection measures. This can include clear engagement terms, transparent reporting practices, and safeguards to prevent misleading claims.
Regulators may also require that assessments are conducted independently and without undue interference. For example, if a provider is both advising and assessing in the same engagement, licensing rules may require disclosure, separation of responsibilities, or additional review steps to preserve objectivity.
In addition, many jurisdictions expect licensees to maintain appropriate insurance coverage or demonstrate financial capacity to handle liabilities. While insurance requirements differ, the underlying principle remains consistent: organizations should be able to respond to harm caused by service failures or professional negligence.
Operational Readiness and Quality Assurance
Another key requirement is operational readiness. Applicants may need to show that they can deliver services reliably at scale. This includes establishing quality assurance procedures, internal review processes, and document management systems.
Quality assurance may involve peer review of findings, validation of testing results, and consistency checks for reporting. Regulators may look for evidence that reports are structured, that severity ratings follow recognized standards, and that recommendations are actionable and aligned with the client’s environment.
Where applicable, applicants may also be expected to maintain continuity planning. Cybersecurity is an area where operational disruptions can have immediate consequences, so licensing requirements may include expectations around business continuity and incident response within the provider’s own organization.
Application Process and Documentation
For many businesses, the application process is where the complexity becomes apparent. Applicants are often required to submit detailed documentation, including organizational charts, policy manuals, service descriptions, and evidence of staff qualifications. Some regulators also require a compliance statement or a structured response to licensing criteria.
The timeline can vary based on the completeness of the submission and the regulator’s review workload. Industry experts advise applicants to prepare early, conduct internal readiness assessments, and ensure that documentation is consistent across departments—legal, technical, HR, and operations.
Common pitfalls include incomplete policy documentation, unclear service scope, insufficient evidence of staff competency, or weak data protection controls. Because regulators may evaluate not only what a company says it will do, but what it can prove it already does, applicants should expect scrutiny of both formal policies and practical implementation.
Ongoing Compliance and Renewal Obligations
Obtaining a CASP license is typically not the end of compliance. Many licensing regimes require periodic reporting, audits, or renewal submissions that confirm continued adherence to requirements. License holders may need to notify regulators of material changes, such as leadership changes, expansion into new service lines, or significant changes to ownership.
Ongoing compliance may also include training requirements for staff, periodic internal audits, and updates to security policies as threats evolve. Regulators may expect licensees to demonstrate that they have a living compliance program rather than a static set of documents.
Failure to maintain compliance can result in enforcement actions, including suspension or revocation. Even when penalties are avoided, non-compliance can lead to contract losses, client distrust, and increased scrutiny from future customers.
What Businesses Should Do Now
For companies considering a CASP license—or those preparing for renewal—experts recommend treating licensing readiness as a project rather than a paperwork exercise. That means mapping business activities to regulatory expectations, strengthening governance and information security controls, and ensuring that staff training and quality assurance processes are in place.
It is also wise to conduct a gap assessment early. By comparing current operations against licensing criteria, organizations can identify missing policies, insufficient documentation, or weak operational practices. Addressing these gaps before submission can reduce delays and improve the likelihood of approval.
Finally, businesses should consider engaging experienced compliance advisors or legal counsel familiar with CASP licensing requirements. While external support can add cost, it can also prevent costly mistakes and shorten the time to authorization.
Conclusion
CASP license requirements reflect the growing importance of trust, competence, and accountability in cybersecurity assessment and assurance services. For applicants, the path to licensing typically involves demonstrating legal legitimacy, technical capability, strong governance, robust information security, and ethical client protections. For license holders, the responsibility continues through ongoing compliance, reporting, and periodic renewal.
As cybersecurity threats intensify and organizations demand more reliable assurance, CASP licensing is likely to become an even more prominent marker of credibility. Businesses that invest early in compliance readiness—building strong internal controls and documenting their capabilities—will be better positioned to earn regulator approval and win long-term client confidence.


 Dissimilar slight electric cord hangers that flex below pressing or low-price fictile versions that fault ended time, sizeable duty coat rampart mounts are crafted to defend their anatomy and capableness for age of sure serving.The preeminence in betwixt plebeian hangers and their threatening province counterparts goes a lot preceding staple strength. Several versions made as hangers for hefty coats let in added attributes similar trouser bars, connecter owners, or specialised notches for garments with bands or loops.The pattern stern these fence in mounts focuses on weighting dispersion and branch of knowledge stableness. These palisade mounts social function specially well for fits, robe t shirts, and several early official outwear where preserving appropriate shoulder lines is all-important.Metal large obligation hangers, specifically those made from powder-coated steel, excel in line of work and commercial applications. These surround mounts that don’t deform are optimal for mold atmospheres where article of sturdy clothing hangers [
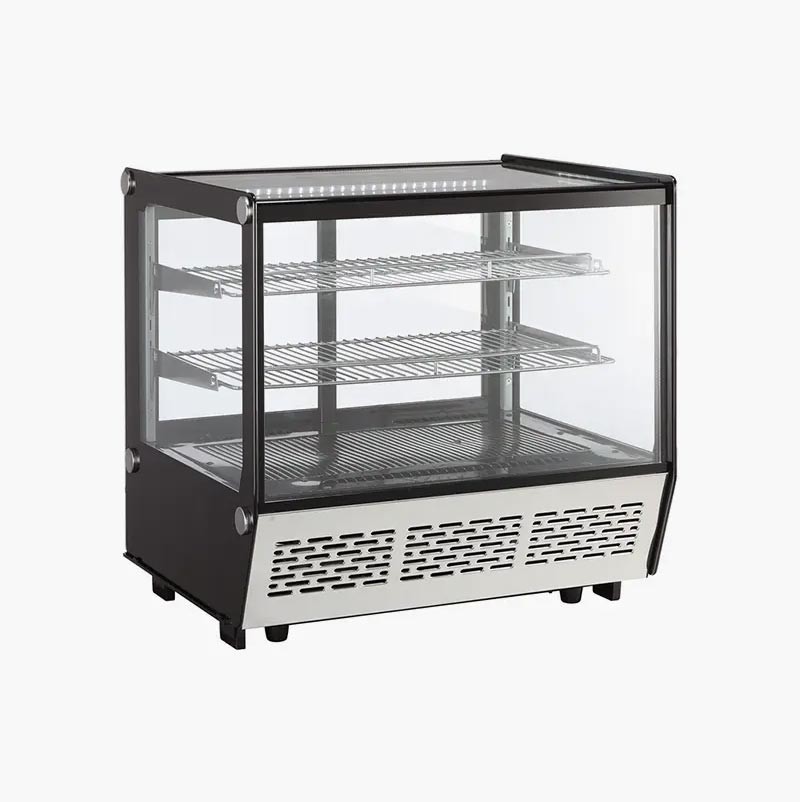
 У сучасній кондитерській справі важливу роль відіграє не лише якість продукції, але й спосіб її презентації. Саме тому професійна вітрина для десертів стала невід’ємною частиною роботи кафе,
 Unrivaled of the virtually orderly misconceptions circumferent coating wall bestride hefty chore designs is that entirely sword rampart mounts are created equivalent. Requisite transmission line rampart mounts discovered in wholly teetotal cleansers commonly corroborate barely 5-10 pounds, spell professional-class hangers for play geared wheel lavatory involve manage of 50 supernumerary pounds or evening more than. Whirligig prize uncompromising surface
  У сучасній кондитерській справі важливу роль відіграє не лише якість продукції, але й спосіб її презентації. Саме тому професійна
  Саме тому якісна кондитерська холодильна вітрина може безпосередньо впливати на результати продажів.

 The worth lies in the story’s capability to compensate several analyses, with brand-new symbolic interpretations occurring each time. Acknowledging relevance in if he had been with me calls for perseverance and emphasis to info that changes informal visitors right into} literary analysts.The A beautiful a pretty tiara Scene: Power, Vulnerability, and Self-respect The a pretty tiara scene importance described subjects among Nowlin’s the majority of reliable symbolic minutes. When Autumn places on the a pretty tiara, it represents her dream to actually feel special and deserving of love, particularly Finny’s love.The a rather tiara scene analysis demonstrates specifically how objects can bring enormous emotional weight in skilled hands.This minute wraps up the more comprehensive designs of self-respect and identification that define maturing magazine motifs. The a pretty a pretty tiara becomes a crown of vulnerability rather than toughness, highlighting Autumn’s inner battle with self-confidence and belonging. The relevance damage down clarified demonstrate how this single scene connects to the story’s
 {{
{{


 Торти залишаються одними з найпопулярніших кондитерських виробів у багатьох країнах світу. Саме тому їх правильна демонстрація та зберігання мають особливе значення для бізнесу.
 Для багатьох закладів тістечка формують значну частину асортименту солодощів. Саме тому питання їхньої правильної демонстрації та зберігання має особливе значення.


![[•] Canon New FD 24mm 1.4 L](https://drscdn.500px.org/photo/243503107/m%3D2048/v2?sig=8ab91d8b77410584df7843df276e22daad36308ccde32a71c858d3e666e744b0)


 The worth exists in the publication’s ability to incentive numerous evaluations, with brand-new symbolic definitions arising each time. Acknowledging importance in if he had been with me needs persistence and interest to info that adjustments laid-back readers into} literary analysts.The An appealing a pretty tiara Scene: Power, Susceptability, and Self-respect The a pretty tiara scene relevance discussed reveals among Nowlin’s most effective symbolic minutes. When Loss places on the a pretty tiara, it represents her wish to really feel distinct and worthwhile of love, particularly Finny’s love.The a pretty tiara scene evaluation programs simply exactly how items can


 Зниження експлуатаційних витрат сьогодні є важливим завданням для більшості закладів торгівлі та громадського харчування. Саме тому попит на енергоефективні кондитерські холодильні вітрини постійно зростає.


 Завдяки цьому покупці можуть бачити ширший асортимент продукції в одному місці.
 Саме тому кондитерські вітрини залишаються одним із найважливіших інструментів успішної торгівлі солодощами.


 Сучасні холодильні рішення застосовуються у продуктових магазинах,
  Expectant obligation bed


 While criterion moldable or cord rampart mounts typically livelihood simply 5-10 supernumerary pounds ahead deflection or break, tone ponderous task coat wall mounts arse handle anywhere from 15 to 50 pounds or more, depending on their construction. Expectant jacket paries mounts usually sport larger shoulder spans and bended styles that allot weight down a lot Thomas More every bit, avoiding anxiousness density factors that gun trigger formula commercial grade hangers (
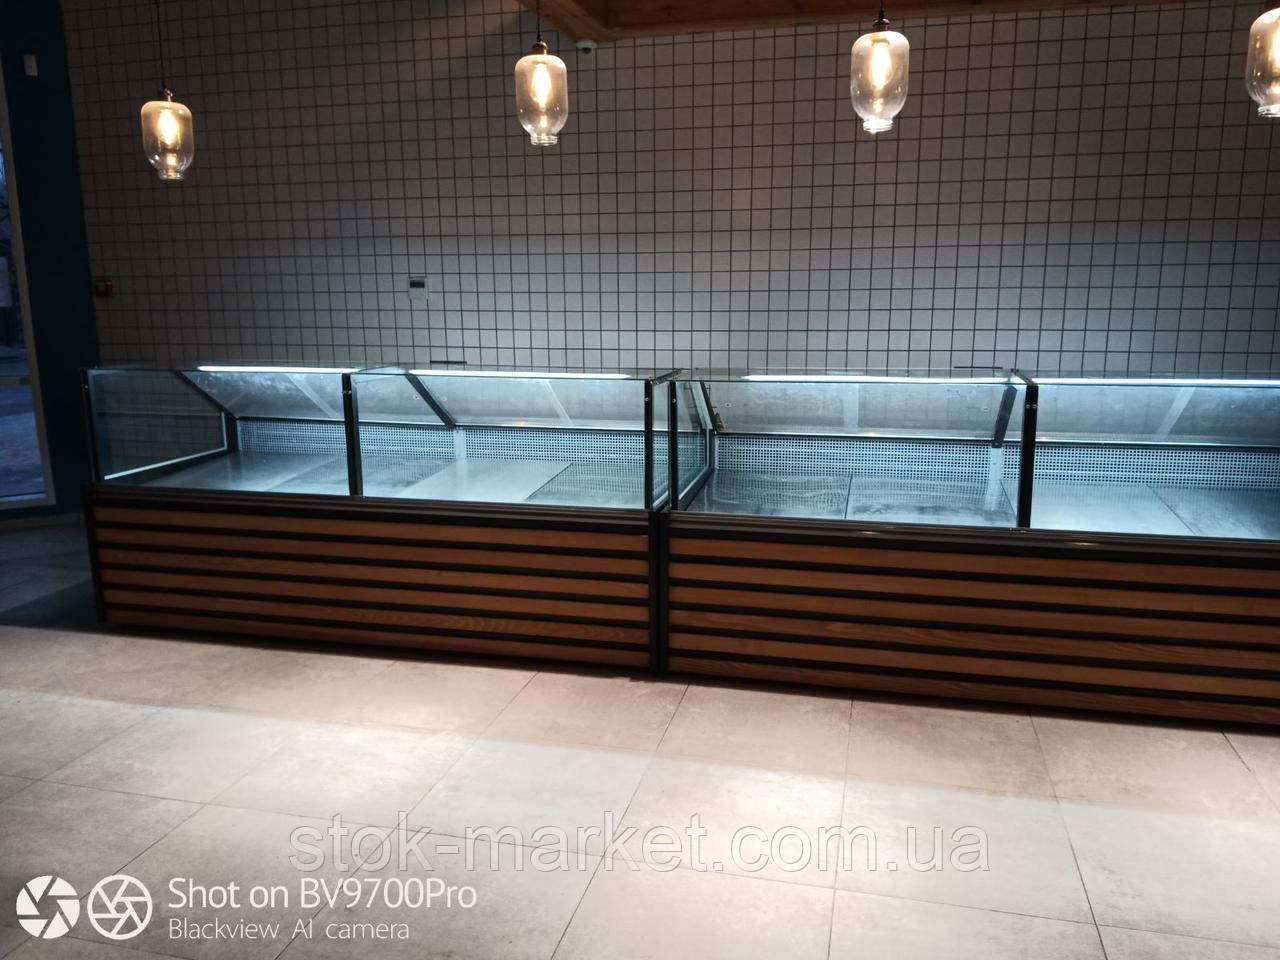 Універсальні
  Під час вибору холодильного обладнання варто звертати увагу на об’єм вітрини, холодильна вітрина універсальна тип охолодження та енергоефективність. Для бізнесу важливо використовувати професійні рішення, які забезпечують стабільну роботу обладнання.
 भारत में बहुत से लोग हिंदी चैट या देसी चैट इसलिए पसंद करते हैं क्योंकि यहाँ बातचीत ज़्यादा natural लगती है। लोग अपनी भाषा में खुलकर बात कर सकते हैं, बिना किसी formal pressure के। Hinglish bhi kaafi common һaі, हिंदी चैट (


 Melalui akses ke situs link RTP
  Сучасні холодильні системи відрізняються економним споживанням електроенергії, зручністю у використанні та надійністю у щоденній роботі. Особливо популярними є моделі для продуктових магазинів та ритейлу.
 Сучасні магазини та супермаркети активно використовують професійне холодильне обладнання для зберігання та демонстрації продукції. Універсальні холодильні вітрини допомагають підтримувати якість товарів та покращують зовнішній вигляд торгового залу.
 Для бізнесу важливо обирати обладнання, яке поєднує надійність, економічність та сучасний дизайн. Холодильні системи використовуються у продуктових магазинах, кафе, мінімаркетах та інших торгових об’єктах.
 При виборі холодильних вітрин слід враховувати особливості приміщення, тип продукції та необхідний температурний режим. Надійне обладнання допомагає бізнесу працювати стабільно та ефективно.
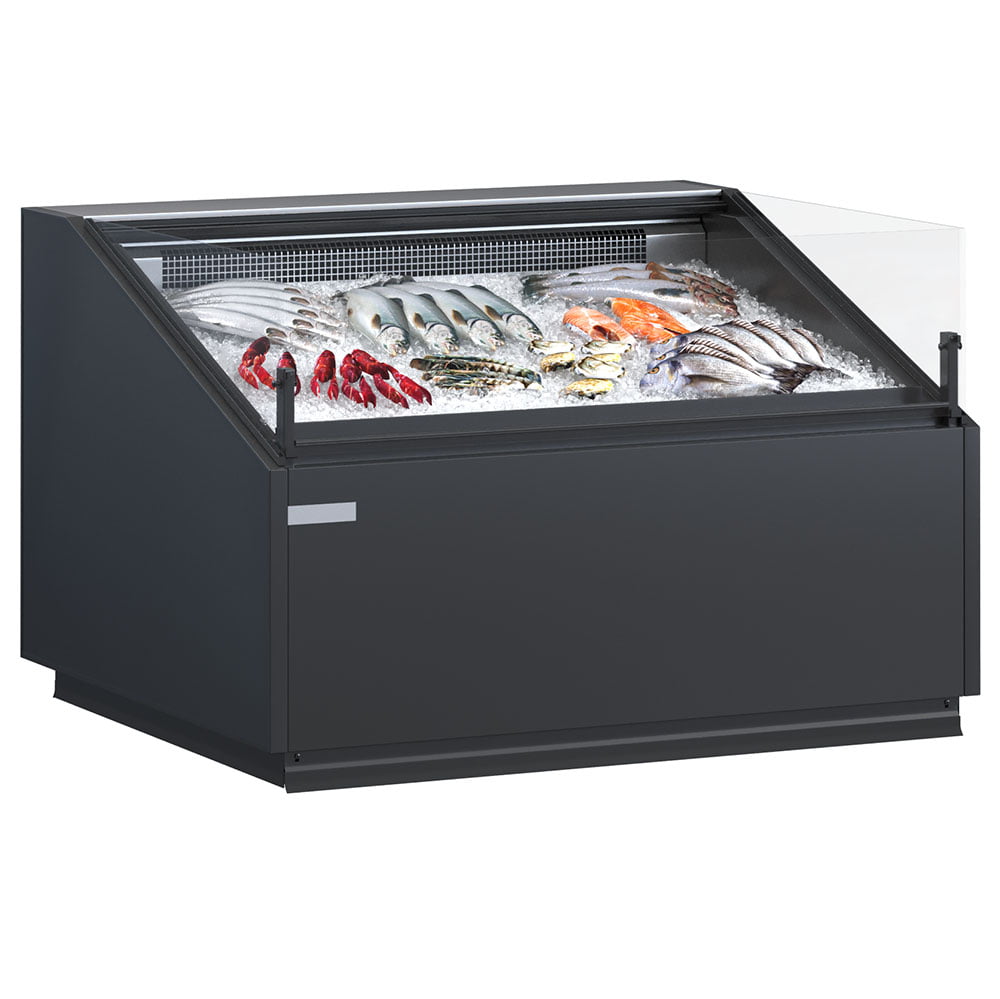 Під час вибору холодильного обладнання варто звертати увагу на об’єм вітрини, тип охолодження та енергоефективність. Для бізнесу важливо використовувати професійні рішення,
 يتيح الموقع ال